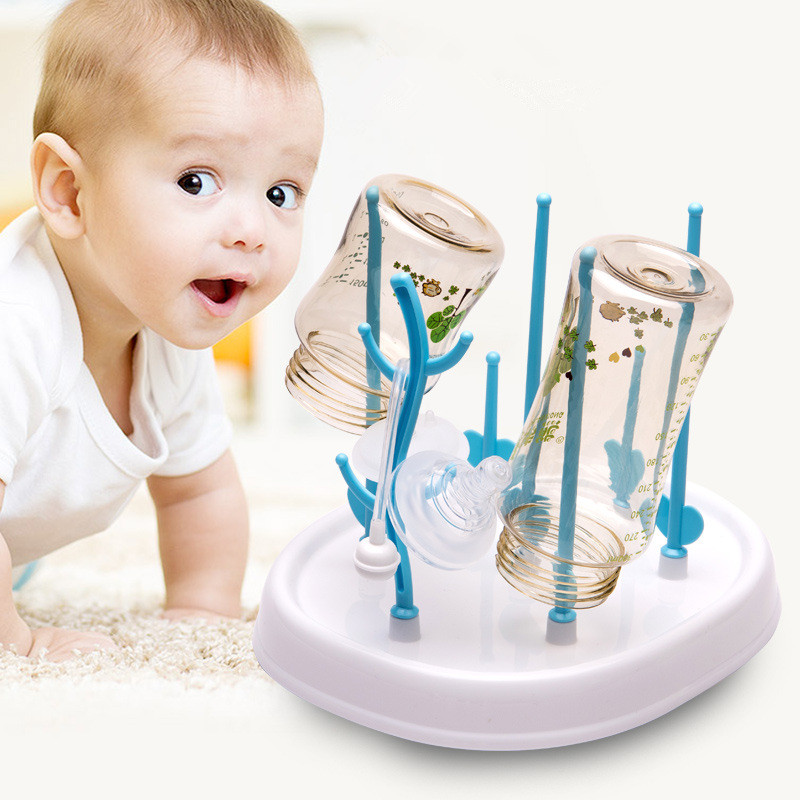
Many parents use baby bottle drying racks for added convenience. Because of their convenient design and features, they help parents dry their baby bottles at home effortlessly. But when it comes to cleaning a baby bottle drying rack, many parents may not know the right process. After some days of use, baby bottle drying racks may smell bad by collecting the additional water from the baby bottles. As the baby bottle drying rack is an integral part of your baby feeding, you need to clean it frequently to provide a better feeding experience to your baby.
6 Steps to Clean a Baby Bottle Drying Rack
Because of its complex texture, many people may not know how to clean a baby bottle drying rack properly. However, here is a step-by-step guide to help you clean your baby drying rack appropriately. If you are not sure how to clean a baby bottle drying rack, then this article can help you.
Step 1:
First, remove the bottles from the bottle drying rack and keep them at a different place. Now, open the drip tray of your bottle drying rack and throw the excess water if there any.
Step 2:
Now, you can clean the parts of the baby bottle drying rack using warm water and liquid soap. You can use a cotton cloth or sponge to rub the drying rack with the soapy water. In this step, you can also look if there any residue on the rack and clean them properly with warm water. After cleaning, rinse the rack and drip tray with clean water for three to four times to remove the smell of the detergent.
Step 3:
Now, you need to check and ensure that there is no unpleasant odor coming from the baby bottle drying rack. If there is any bad smell, then you can treat it with baking soda to eliminate the odor. To do that, you can bring a container that can hold the drying rack. Once you find the container, you can pour some baking soda into it and add some water. Moreover, you can add one cup of water for one teaspoon of baking soda for a proper mixture. Now, mix the soda and water properly.
Step 4:
Now, put all the parts of the bottle drying rack into the container and make sure that they are submerged into the baking soda solution. After that, leave it for 6 to 8 hours.
Step 5:
After 8 hours, you can take out the bottle drying rack from the container and smell it to ensure that there is no odor. Now, rinse the drying rack with clean water and allow it to dry.
Step 6:
Once the baby bottle drying rack is dried, you can assemble the parts and start to use it.
Some baby bottle drying racks are compatible with the dishwasher to make your work easier. So, you can check whether your baby bottle drying rack is compatible with dishwasher or not. If the drying rack is dishwasher safe, then you can place it on the top rack of the dishwasher to clean that. This way, it will be easier for you to clean your baby bottle drying rack.
Conclusion
You should clean your baby feeding items frequently to ensure healthy food for your baby. If you don’t clean them, then they may smell unpleasant, and that may give a bad experience to your baby. When it comes to baby feeding items, baby bottle drying racks also come into the list. Therefore, you need to clean them sometimes for a better experience. The above steps can help you clean your baby bottle drying rack appropriately.